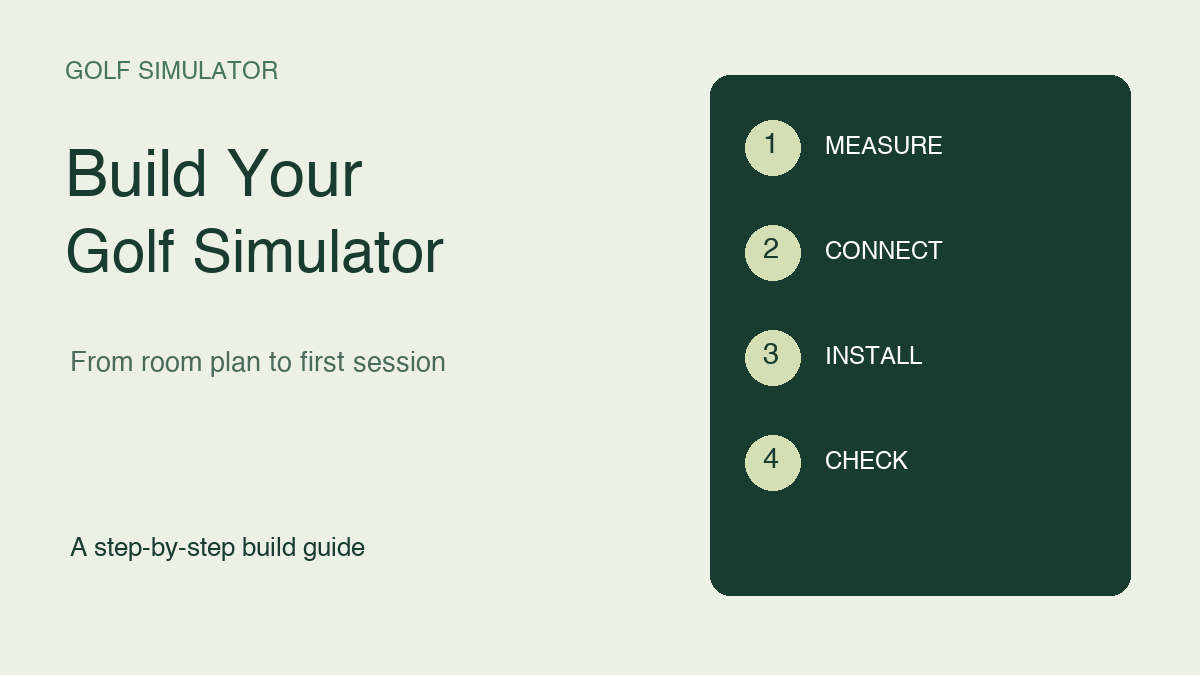
How to Build a Golf Simulator [Step-by-Step Guide]
To build a golf simulator, first establish a usable hitting area, then choose a launch monitor and compatible software, install a suitable ball-catching system and mat, and connect your display. Add a projector if you want the course in front of you; a net and separate monitor can also form a working simulator. The key is making those parts work together before spending money on room finishes.
I would start with a measured floor plan and a compatibility checklist. A beautifully finished enclosure is little help if the monitor needs more depth than the room provides, or the computer cannot run your chosen software. Buying in the right order leaves fewer expensive surprises at the installation stage.
This guide takes you from an empty room to a checked, usable setup. It separates the decisions you can make now from the installation details that depend on your exact equipment, with a build sequence, a component checklist, and a first-session troubleshooting table.
1. Define the Simulator You Actually Want to Build
Write down your main use: short practice sessions, simulated rounds, shared family play, or a mixture. Then decide whether the equipment stays in place. A permanent room can accommodate fixed mounting and concealed cabling; a shared garage needs a repeatable setup routine and somewhere to store every loose component.
Choose the experience before choosing the decoration. For practice, a compatible launch monitor, software, mat, net, and separate display may be sufficient. For projected play, add an impact screen, suitable enclosure or containment system, projector, and mounting arrangement. I would leave seating and decorative wall finishes until the hitting system works reliably.
The Build Order
2. Measure the Usable Room, Not Just the Floor
Record ceiling height, width, and depth at the proposed hitting position. Include beams, door tracks, lights, shelving, and the height added by the finished mat. Mark the ball position and target line on the floor. Check the swing envelope for the tallest intended golfer and longest intended club without risking contact with an obstruction.
The monitor's operating space and the golfer's swing space are separate requirements. As one model-specific example, Garmin specifies placing the Approach R10 six to eight feet behind the tee, with at least eight feet from tee to net indoors. That does not include the target's rear clearance or make the same dimensions suitable for every golfer. Use the requirements of your selected monitor and target together; if the layout fails, change the equipment or location before ordering.
3. Match the Launch Monitor, Software, and Computer
Treat these as one purchase decision. Check that the exact launch-monitor model supports the software you want, including any connector, license, subscription, or feature unlock. Confirm whether the supported device is a phone, tablet, Windows computer, or another platform. A Bluetooth connection alone does not establish simulator compatibility.
Next, check the software maker's current recommended hardware for your intended resolution. Foresight, for example, distinguishes minimum from recommended PC specifications and provides separate guidance for its newer Premier software. Do not assume a machine that launches an older program will deliver the same experience with a newer title or higher resolution. I would record the supported combination in writing before buying the computer.
How the System Connects
4. Make a Complete Parts List
List what each package actually includes, then fill the gaps. A screen may arrive without a frame; an enclosure may need separately purchased pipes; a projector may need a compatible mount. Count cables, padding, fasteners, flooring transitions, and any required ball markings alongside the obvious equipment.
Add a column for one-time and recurring costs. Compare complete usable systems, not an isolated monitor price against a fully equipped package. My preference is to buy the minimum complete setup first, keeping room in the budget for a mounting change or cable replacement once the actual layout is tested.
| Component | Confirm before ordering | Decision it affects |
|---|---|---|
| Launch monitor | Placement, capture area, handedness, software support | Hitting position and computing |
| Net or impact screen | Ball-use rating, size, rear clearance, included frame | Containment and room depth |
| Hitting mat | Overall footprint, hitting insert, finished height | Stance, monitor level, ceiling clearance |
| Projector, if used | Throw range, image size, mounting requirements | Lens position and screen shape |
| Computer and software | Supported hardware, license, connection method | Graphics performance and running cost |
| Installation materials | Mount, padding, cables, cable protection | Complete usable setup |
5. Assemble the Enclosure and Ball Containment
Follow the instructions supplied with the exact frame and screen. Establish its final position before tightening or tensioning everything. Keep hard objects out of the screen's deflection space, cover exposed frame areas as the enclosure maker specifies, and account for high shots and sideways misses. A projection surface alone is not a complete containment system.
Screen tension is a balance between image flatness and movement under impact. Carl's Place advises against an overly rigid installation and explains how clearance and tension influence rebound. Follow your screen maker's dimensions rather than stretching fabric until every wrinkle disappears. If a ball can reach a wall, exposed pipe, window, or nearby person, the build is not ready for full shots.
6. Install the Mat and Establish a Repeatable Ball Position
Set the mat on a stable, level surface and check that it does not rock or move under your stance. If you use a separate hitting strip, its top should work with the stance surface rather than leaving the ball awkwardly above or below your feet. Keep joins and cable runs outside the normal movement area.
Place the hitting position within the monitor's documented capture area and the target's protected area. Mark reference points discreetly so a portable mat or monitor can return to the same location. This is particularly helpful in a garage: repeatable placement is more useful than guessing the alignment again at every session.
7. Position the Projector Before Making Permanent Fixings
Use the projector manufacturer's calculator or installation table with the actual image width and aspect ratio. The basic relationship is lens-to-screen distance equals image width multiplied by throw ratio. For example, a 0.5 ratio and a ten-foot-wide image imply roughly five feet from lens to screen, subject to that projector's supported image sizes and installation limits.
Check the projected image and swing clearance from the intended mounting position before committing to a permanent fixing. Allow for the lens offset, ventilation, cable connections, and the golfer's shadow. A floor-mounted projector also needs suitable protection outside the strike path. Have an appropriate installer handle structural mounting or new electrical work; a good picture does not prove the mounting is secure.
8. Connect and Configure the System
Install the supported software and device updates, activate the correct license, and connect the launch monitor using its documented method. Establish a working display connection before hiding cables. Set the output resolution and aspect ratio to suit the projector or monitor, then focus and align the picture with physical positioning before relying heavily on digital correction.
Work through the monitor's setup routine with care. Check target alignment, hitting-surface height, lighting requirements, and any specified ball or club markings. Keep a short record of the working settings and cable connections. That record makes it easier to restore the setup after an update or a temporary move without changing several variables at once.
9. Commission the Setup in Stages
Inspect containment and clearance before hitting. Follow the equipment makers' commissioning instructions, keep spectators outside the swing and rebound areas, and begin with controlled shots appropriate to the installed system. Watch where the ball lands, whether the mat shifts, and whether the monitor captures shots consistently. Stop if the screen contacts a hard surface or rebound is uncontrolled.
Only progress once the physical setup behaves properly. Then assess the data connection and display separately. One unexpected distance is not enough to diagnose a faulty monitor: first confirm the selected club, units, environment settings, alignment, and any required markings. Change one relevant setting at a time so you can tell which adjustment helped.
| What you observe | Check first | Next action |
|---|---|---|
| Ball reaches a hard surface or rebounds sharply | Containment, clearance, tension, exposed frame | Stop hitting and correct the installation |
| Shots frequently fail to register | Capture position, alignment, markings, lighting | Follow the monitor’s setup troubleshooting |
| Image does not fit the screen | Aspect ratio, lens distance, supported image size | Reposition or revise the image size before fixing the mount |
| Course graphics stutter | Recommended hardware, resolution, graphics settings | Test lower settings and follow software support guidance |
| Setup changes after storage | Mat, monitor, and target reference positions | Restore measured positions before recalibration |
10. Finish the Room After the System Works
Once the simulator is usable, secure cable routes, tidy storage, and add the finishes you actually need. Keep access to connectors and adjustment points. Put seating, bags, drinks, and spare clubs outside both the swing area and potential ball paths. In a shared room, make the setup and pack-down sequence easy to repeat.
Before each session, inspect the target, attachment points, mat position, and hitting area. Replace worn components according to their maker's guidance rather than waiting for a visible failure during play. I would also keep the final room measurements, equipment model numbers, and connection notes together; they are a useful starting point when a future upgrade changes one part of the system.
Frequently Asked Questions
Can I build a golf simulator without a projector?
Yes. A compatible launch monitor and software can show the simulation on a separate screen while you hit into a suitable net. You still need adequate swing room and containment. Choose the computing device according to the software requirements, then add projection later if the room supports it.
Should I buy an enclosure kit or make the frame myself?
A compatible kit can simplify sizing and assembly. A custom frame gives more control over dimensions but leaves you responsible for compatible materials, secure construction, padding, and screen fit. Price the complete frame and containment system before deciding that a custom build will cost less.
Can left- and right-handed golfers share the same simulator?
Potentially, but plan for both swings and the monitor's supported arrangement. Some ground-mounted units need repositioning between players, while other designs may support shared play from a fixed location. Check the exact model and both golfers' clearance before fixing the mat position.
Does a simulator need a permanent internet connection?
It depends on the software, license, and features. Downloads, activation, updates, online rounds, and account checks may have different requirements. Confirm the offline behavior with the software provider rather than assuming that an installed program will always run without a connection.
Can I reuse an existing television or computer?
Possibly. A television may work as a separate display if the supported device can connect to it. A computer must meet the chosen software's hardware and operating-system requirements. Check these before budgeting the old equipment as a guaranteed saving.
What should I upgrade first after the basic build?
Address the part that limits your actual sessions. That might be an uncomfortable mat, unreliable capture caused by an unsuitable layout, or a display that is difficult to see. Diagnose setup problems before buying replacements; a more expensive component will not automatically correct poor alignment or insufficient space.
Build Around a Working Hitting System
Start with measurements and a supported monitor–software combination, then establish containment, the hitting position, and a working display. Test that core system before adding permanent finishes. The guides below cover the main decisions in more depth, so you can compare the right equipment after confirming what your room can accommodate.